Help, I've fallen into a black hole and I'm not sure when I'll be coming back up for air. I've started playing around with textures and with my addictive personality it's rapidly bypassing hobby and veering off towards obsession. There's a bit of a learning curve as I both figure out how it all works and what I like from an artistic point of view, but I'm really enjoying the process and the end result so far isn't half bad.
.
Here are a few of my early attempts. These are just a jumping off point for me as I experiment and learn.
.
Are any of you working with textures? I'd love to see them and trade ideas, and if there's enough interest maybe even start up a new textures photoproject. Now that Summer Stock is on hiatus the weekends are available again.
.
Click each image for a better look at the textures.
.
 .
.


10 comments:
Can't say I've ever played with them much, but I know there are a number of them delivered with Photoshop CS3 (Extended). I probably have a handful available, I've just never used them. So I doubt I'll be very helpful in the idea department, but I'll be happy to look at yours.
Do you know Kate? click here she is the mistress of textures, actions and effects ... self taught and I am sure she can help you!
I want a tutorial on how you achieved that hibiscus look, please.
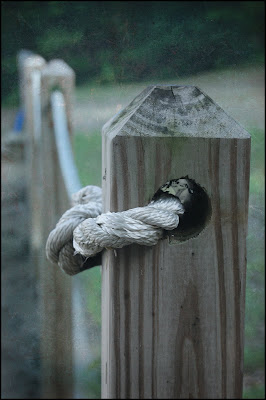
fun experiments, they look good. I love the post and the rope.
I just love the first photo!
I sure can relate to the addictive personality thing!! Whoa...these textured photos are amazing! For a "beginner"...just terrific!
I have no idea how to do this. However if I had this program I'd be obsessed with it until I figured it out too :)
The actual doing it is pretty simple now that I've figured it out. The what to do part will take more time as I develop my own preferences and style.
I'll definitely check out what Kate's been doing Daryl, thanks.
Quilly, the hibiscus image was actually one of the simplest if you know how to work with layers. (Do you? If not, let me know and I'll point you in the direction of some really helpful tutorials.) The original photo was already fairly soft and "pastely". I desaturated it a bit further to make it even softer and then added a new layer with the texture on top. Of course with the texture on top you can't see the image underneath, so you have to then reduce the opacity of the texture layer - just play with it until you like the way it looks. In this case I also "erased" a bit of the texture on top of the stamen to make that a little bit crisper, but I've since found out a better way to do that. E-mail me if you want the fuller explanation, I'd be happy to share :).
PS You can find a lot of free textures online by doing a google search. I started with those but quickly realized that what I really wanted were Florabella style textures so I bought those. The link is in the post - she sells the whole set for $40 and it comes with some cool extra features (overlays, frames, and lots and LOTS of textures) as well as with a whole "tips and tricks" page for how to use them.
Oh. No Photoshop. I use a free, cheap photo editor. Alas. Someday I'll have a job again and actual money -- right?
Post a Comment